


How to Use Color Adjustments
Open an image
Choose Select an image or drop one still JPEG, PNG, WebP, AVIF, HEIC or HEIF image into the upload area. The limit is 40 MB.
Opening an image... stays visible for at least one second, and longer if loading is still in progress.
Adjust the image
Open Light for Exposure, Brightness, Contrast, Highlights and Shadows; Color for Temperature, Tint, Saturation and Hue; or Effects for Grayscale and Sepia. Move a slider or enter a number.
Changes update the preview automatically. Wait for the new preview before comparing the result.
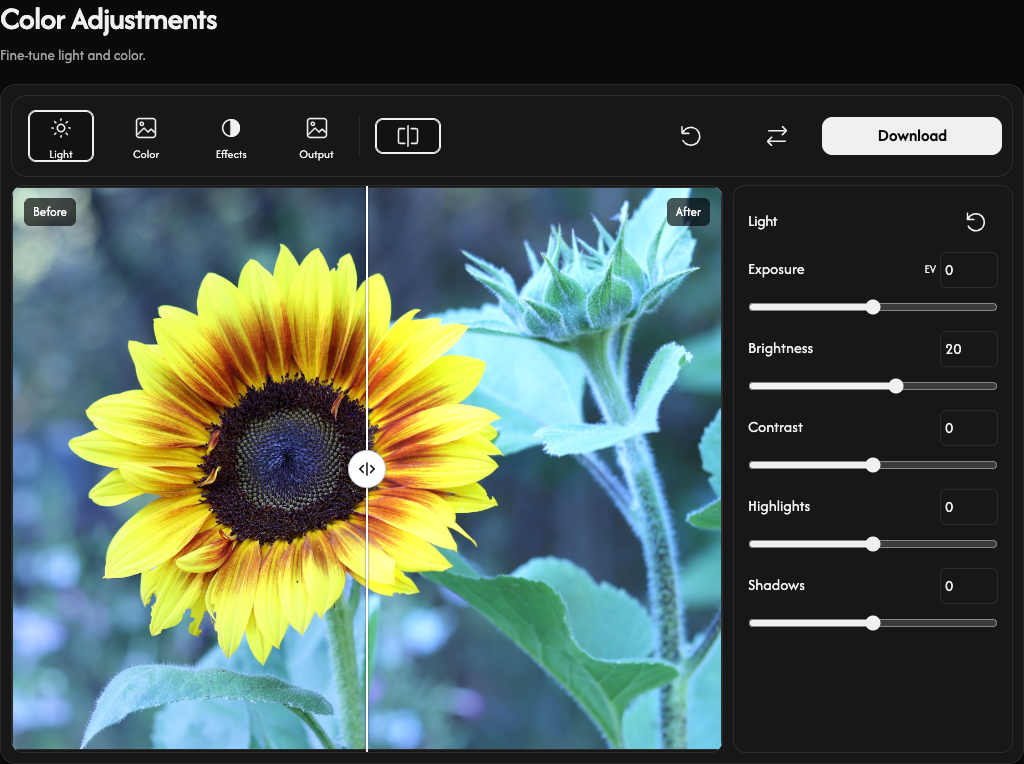
Compare before and after
Choose Before & After to show or hide the comparison.
Drag the comparison handle to inspect the original and adjusted image. On touchscreens, swipe vertically on the image to scroll. Comparison does not change the saved image.
Reset adjustments
The reset icon at the right of a Light, Color or Effects heading resets only that group. The main Reset keeps the image and restores all adjustments to zero, the original output format and the white JPG background.
Choose the output
Open Output and choose Preserve input format, JPG, PNG, WebP or AVIF.
Preserving the input format keeps JPEG, PNG, WebP and AVIF. HEIC/HEIF saves as JPG, or PNG when transparency is present. This is also the default for a newly opened image on a phone.
When saving transparency as JPG, choose JPG background to fill transparent areas. The default is white. PNG, WebP and AVIF preserve transparency.
Download the image
Choose Download to save one image at its original dimensions and maximum quality. Download is unavailable while every adjustment is zero. Processing stays in your browser.
During Preparing..., the editing screen stays visible and controls are temporarily unavailable until the file is ready.
Replace an image or recover from an error
An error shows the failed filename and a reason. A failed replacement keeps your previous image, adjustments and existing result.
Use Replace to open another image.
Choose Cancel while an image is opening to stop it. A cancelled replacement keeps the previous image and edits.